
The goal of this article is to allay some of the fear associated with placing a catheter in the female canine, and to describe a manual technique for female urinary catheterisation. In order to gain proficiency in the techniques of placing female urinary catheters, some nurses find it useful to practice on recently deceased patients (if this is not against the hospital policy of your employer).
Catheter types
There are many catheter types in all lengths and sizes. Most veterinary hospitals have red rubber catheters in stock and these can easily be used for urinary catheterisation of female dogs. They vary in size from 3.5 French (Fr) on up to 16 French and above. Generally a large female may accommodate a 12 French (larger French catheters are generally easier to place in females than small ones). Most of these catheter lengths are 25–40 cm, all of which work for females patients. These types of catheters are more difficult to secure for long-term use than a Foley catheter (Figure 1), requiring suturing.
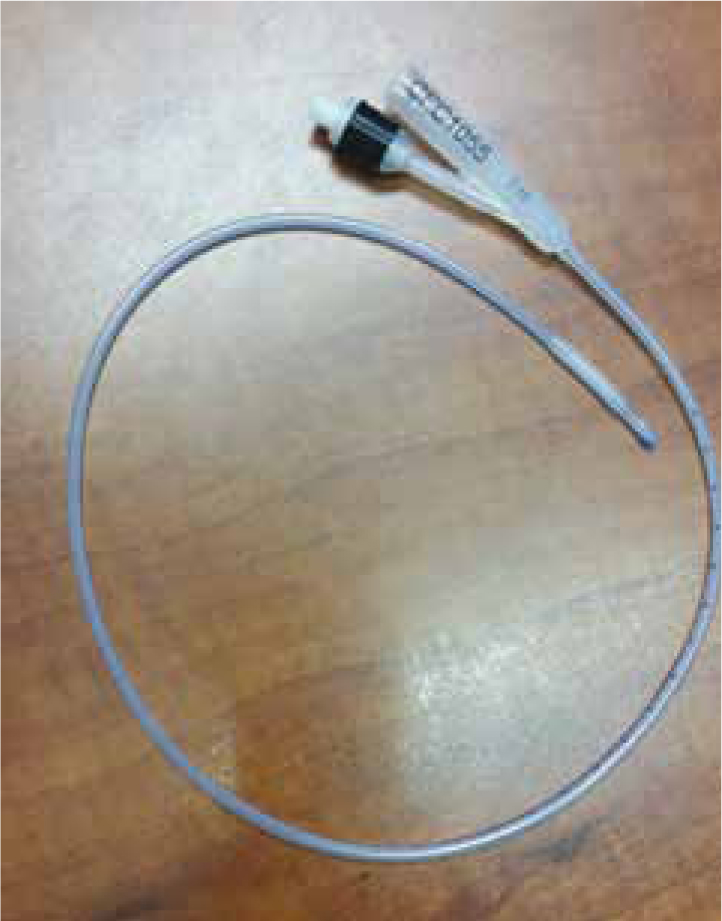
There are a variety of other catheter types also available. Foley catheters are considered to be more comfortable than other catheter types (in human medicine there is a widely held belief they are less traumatic than other types), and they have a balloon on the end that dwells inside the bladder, which can be filled with sterile saline. This prevents the catheter from coming out of the bladder without the use of sutures. This increases the comfort for the patient and is less likely to cause nosocomial infection as a result suturing.
Polypropylene urinary catheters are very stiff and not designed for long-term use. They are useful for a single catheterisation to obtain a urine sample, or perhaps for difficult catheterisation with an obstruction. In the latter case the veterinary surgeon in charge should be performing the catheterisation because of the potential for trauma and the risk of urethral perforation. If they are left in for long-term care they are very uncomfortable (and have been known to cause bleeding) and irritating for the patient, and kink easily, and are therefore not recommended for that reason.
Materials needed
Female catheter placement
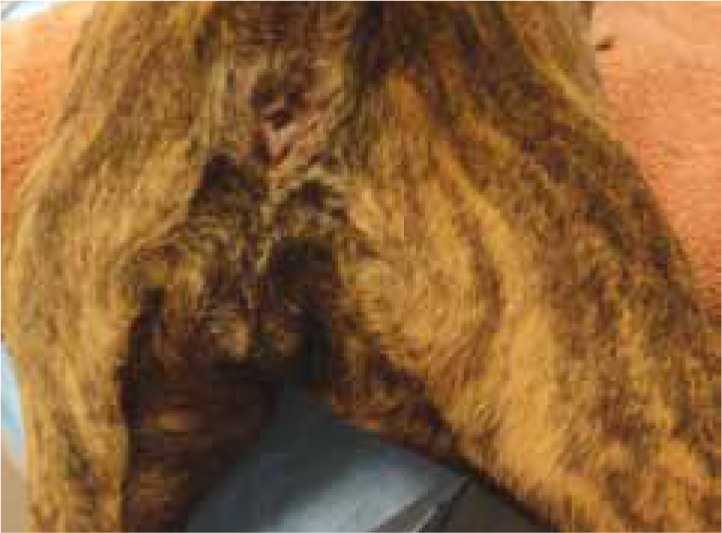
Use a Foley catheter whenever possible. The patient can rest in any position she is comfortable in once you know how to place these catheters. Initially, it is generally easiest to have the patient in sternal recumbency, with rear legs in a ‘froggy-legged’ position (see Figure 2). Sometimes draping the legs over the end of a table is also helpful. Be sure to place towels under the pelvis/abdominal area for support and comfort. Depending on the condition of the patient, sedation may be needed if the patient will not tolerate the procedure willingly. While the catheter is in the packaging, get an approximate idea of how far the catheter will need to be inserted in order to reach the bladder. Estimate length by judging the distance from the outside of the vulva, and curving the catheter around to the approximate location of the bladder. Make a mental note of the length of catheter that should remain outside of the patient.
First, shave away all long hair in the area of the vulva. Do not shave all the way down to the skin in order to minimise any irritation of the skin (Davis and Riel, 2010). The goal is to facilitate an aseptic cleanliness of the area to help prevent nosocomial infection. Once the area is trimmed, clean the vulva and surrounding area with an antiseptic solution — do not use a scrub it will contain soap and should never be used on mucosal tissue. Then flush the vulvar vault with a dilute antiseptic solution, such as 0.05% chlorhexadine (Steele, 2012).
Once the area has been prepped, open the sterile gloves, sterile water soluble lubricant, and catheter. Don the sterile gloves (Davis and Riel, 2010). A small amount of water soluble lubricant should be placed on the first finger (enough to coat the finger and catheter tip) of the primary hand of the technician placing the catheter. At that time the nurse should insert the lubricated finger into the vulva. It is sometimes helpful to have this finger lubricated with lidocaine jelly initially, as long as it is sterile; lidocaine is a topical anesthetic that numbs mucus membranes. The lidocaine jelly numbs the vaginal tissues; there is time for the lidocaine to begin numbing the area during palpation and this can further ease patient discomfort. It usually takes a couple of minutes for lidocaine to take effect.
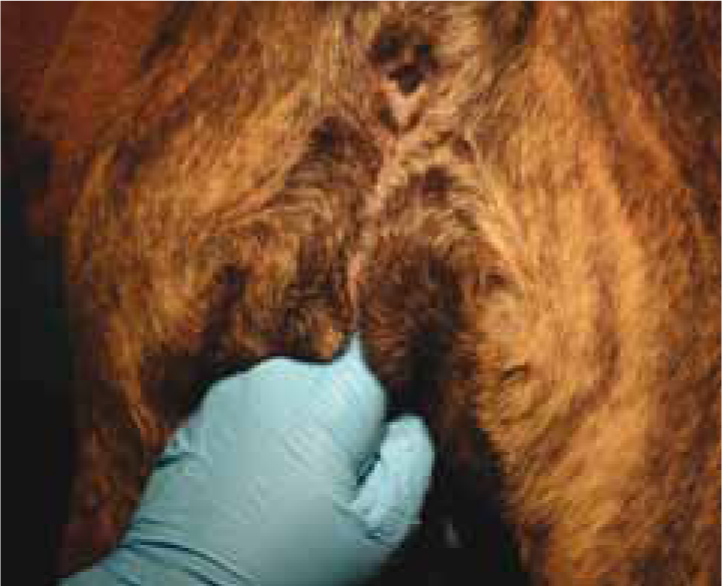
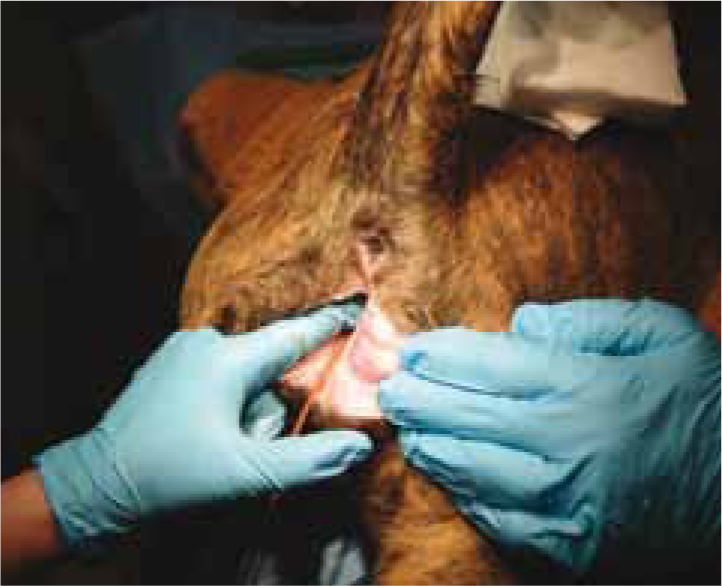
The vulvar vault is easiest to think of as having three levels: a bottom level, middle, and upper level. The middle level is where the urethral opening will be found. It is important that the nurse placing the catheter orients themselves to the anatomy of the patient prior to attempting placement. Once sure of being in the correct level, the finger should be inserted to approximately the second knuckle. The pelvic brim can be palpated here (see Figure 3). In most patients this is approximately where the papilla, or urethral opening is found. Once in this place, the finger should gently sweep from side to side along the ventral surface of the vulva. The papilla is usually found on the ventral surface, medially (in the middle or midline) at the level of the second knuckle. This will vary slightly of course depending on hand size and patient size. A very light side to side sweeping motion should be used to identify the papilla. Make sure the sterile glove fits the tip of the finger well in order to have the tactile sensitivity necessary to identify the urethral opening (see Figure 4).
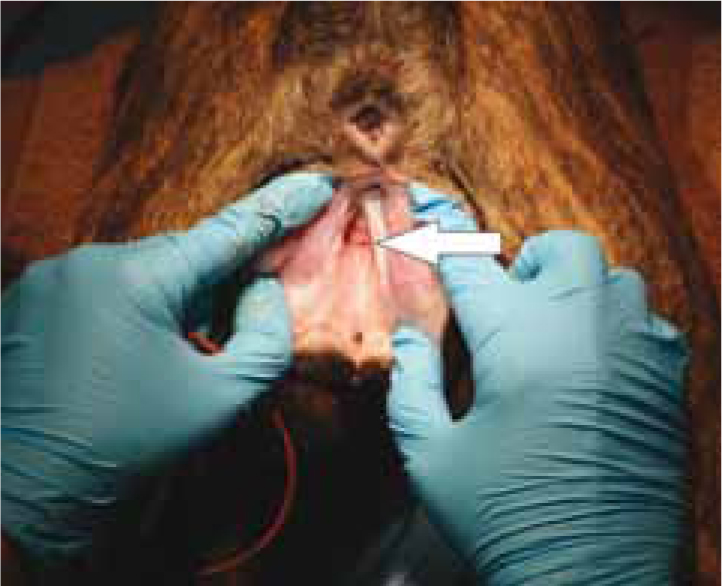
Once the papilla has been identified, the tip of the finger should be curled slightly behind this area. Using the non-dominant hand, remove the catheter from the packaging and lubricate the tip. Now, the catheter should be fed along the underside of the finger that is in place inside the vulva (see Figure 5). The goal is to have the finger in place serve as a guide for the catheter to follow straight into the urethral opening (see Figure 6) When the tip of the catheter reaches the pad of the finger this is the point where it can be inserted into the papilla. The pad of the finger should be used to gently press the tip of the catheter down into the papilla. At the same time the other hand should continue to feed the catheter slowly in. If the catheter is going into the urethra then it will slide into the tissues. If the catheter is felt going past the tip of the finger, pull the catheter back and try again. The tip of the finger pressing down just cranially to the papilla can help to prevent the catheter from bypassing the opening to the urethra.
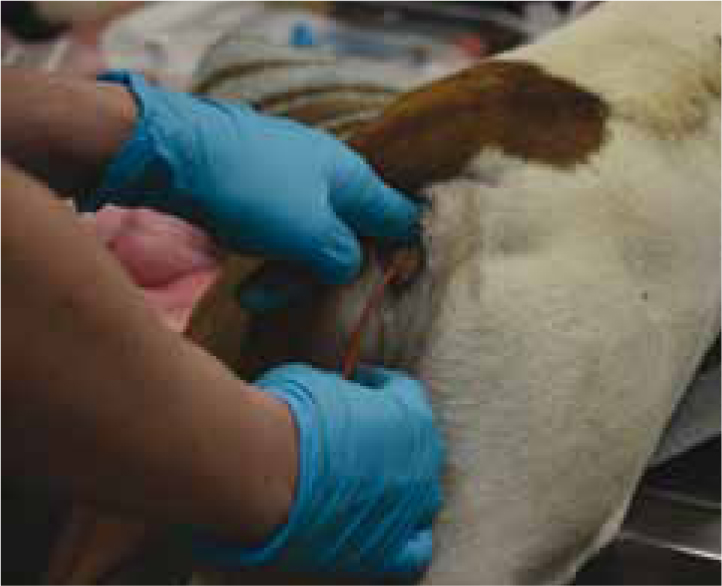
Once the catheter is being inserted into the urethra, it should be fed in to the premeasured point. If the catheter stops and will not go in any further and no urine output is seen, remove the catheter and try again. If the catheter keeps feeding, when nearing the pre-measured distance a flow of urine should begin to come out of the catheter. It is important not to let go of the catheter at this point as it may fall out.
The catheter can then be connected to a closed collection line and bag. If a Foley was used, fill the balloon with the recommended amount of sterile saline as stated on the packaging. If a red rubber or other type of catheter was used, then a Chinese finger trap suture should be used to secure the catheter to the vulva. Avoid using tape around the catheter to suture to. This often becomes dirty and the tape will slip over time, allowing the catheter to be pulled out inadvertently. In either case, use a strip of tape around the line of the collection set to tape it to the tail, or a rear leg, in order to reduce tension on the catheter itself. Be sure to give enough length that the dog can move, but not too long that she may become entangled in the line. From this point catheter care, including wiping the catheter and lines down with 0.5% chlorhexadine, and flushing the vulva with 0.05% chlorhexadine solution, should be practiced at regular intervals.
Conclusion
Veterinary nurses are in a special position to acquire the skills needed to facilitate placement of a female urinary catheter. While most consider this skill difficult, with practice and persistence, veterinary nurses can indeed master this skill. Adherence to aseptic technique during preparation, placement, and throughout the duration of the indwelling catheter in the patient is vital. Hospital protocols for care of urinary catheters should be strictly followed. Utilising the skills needed to place female urinary catheters and providing proper care of them places the veterinary nurse in a vital role within the veterinary health care team.