
Every veterinary practice should be equipped with a microscope and all veterinary nurses should become competent with its use. A good microscope is a sound investment for any veterinary practice and if used regularly, may pay for itself in as little as 3–4 weeks. Unlike other equipment in the veterinary practice the microscope is unlikely to become outdated or need upgrading if looked after well. There are many benefits of having a microscope including:
There are various makes and models available on the market that range in price. As is often the case, you do get what you pay for, so it is recommended that the most expensive model that finances allow is purchased (bearing in mind how often it is likely to be used and the costs for using it). See Table 1 for the most common uses.
| Urine sediment examination | The examination of urine sediment for casts, crystals, bacteria and inflammatory cells |
| Parasitology | Faecal egg count, trichography, skin scrapes, acetate tape impression and coat combings to assess for ectoparasites and eggs |
| Cytology | The examination of direct/indirect impressions smears, blood smears, acetate tape impression and fine needle aspirates following staining for yeast, fungi, bacteria and cells |
Microscope set up
To ensure the microscope is used to its full potential, it must be positioned correctly. Ideally it should be kept out on a bench and not be stored on a shelf or in a cupboard. It should be positioned on a sturdy bench/table where the user may sit comfortably and where other equipment such as a centrifuge will not interfere with its use. The seat provided should be adjustable to allow optimal positioning for each user (MacTaggart, 2004); incorrect set up can lead to problems including headaches and neck/back ache.
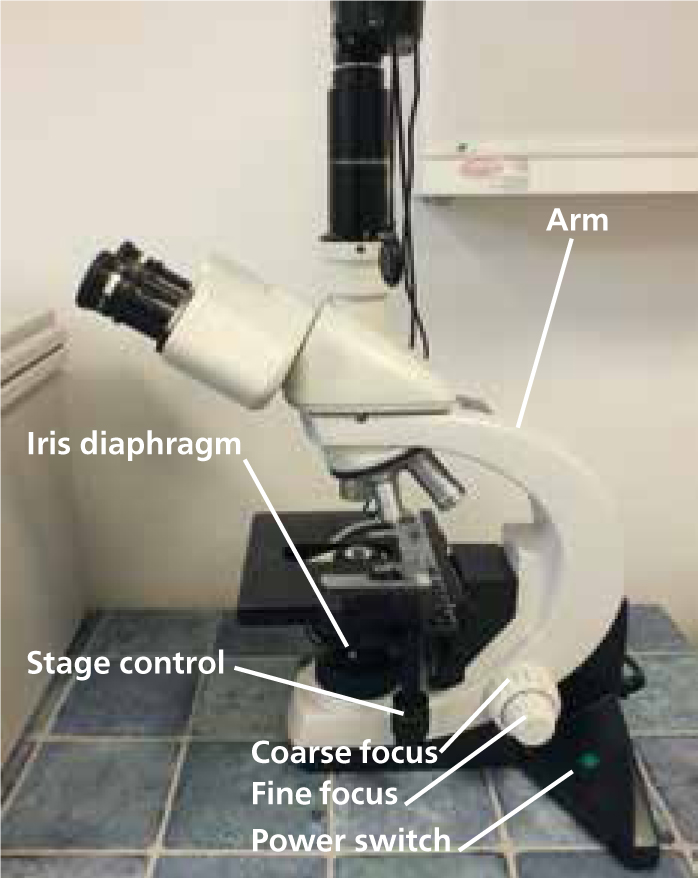
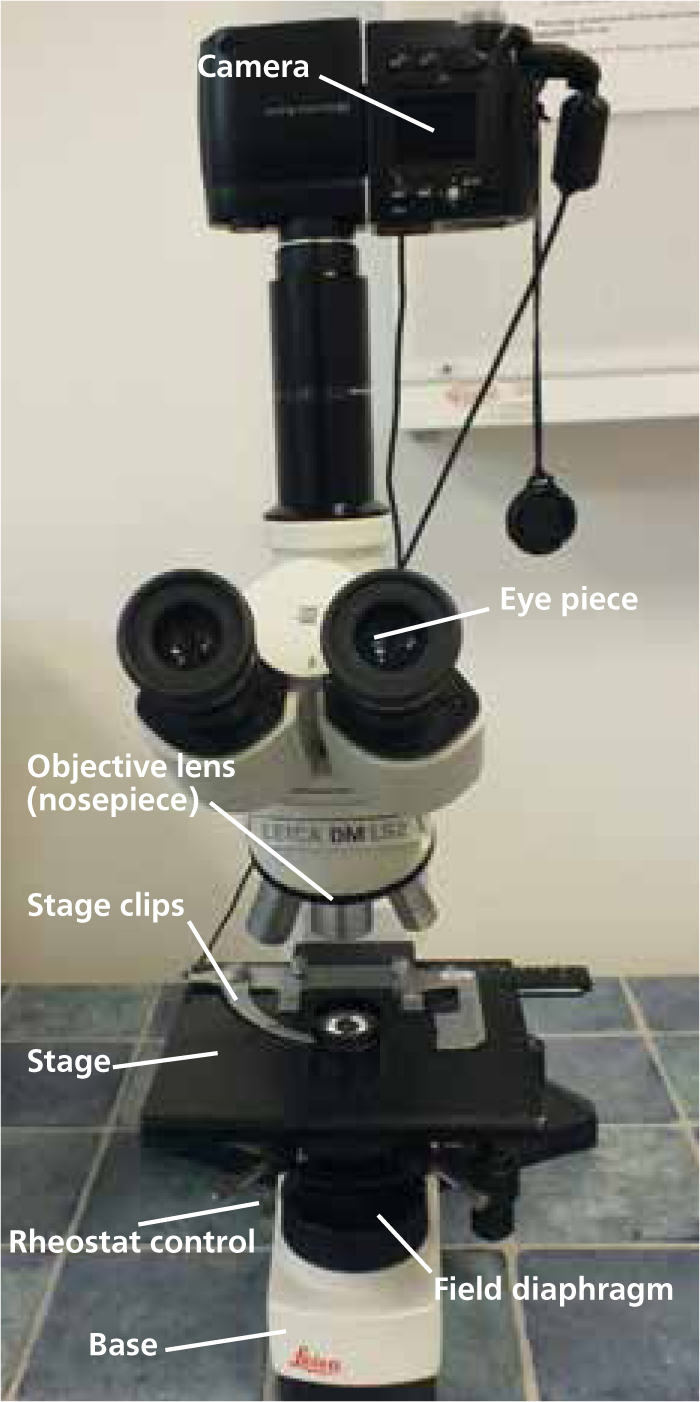
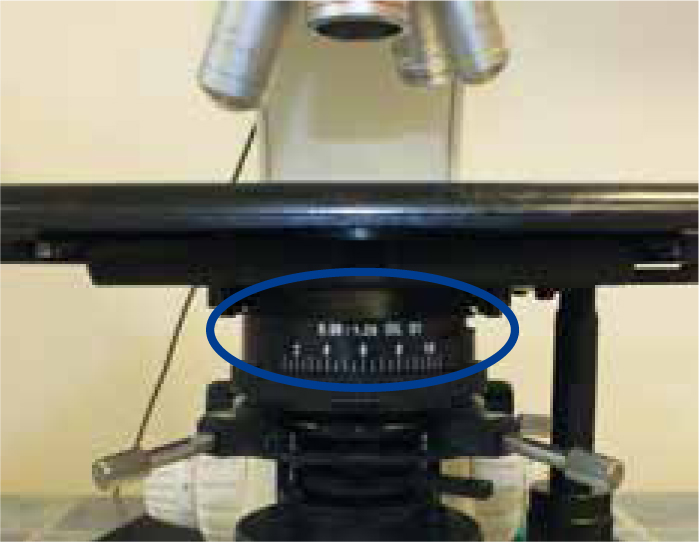
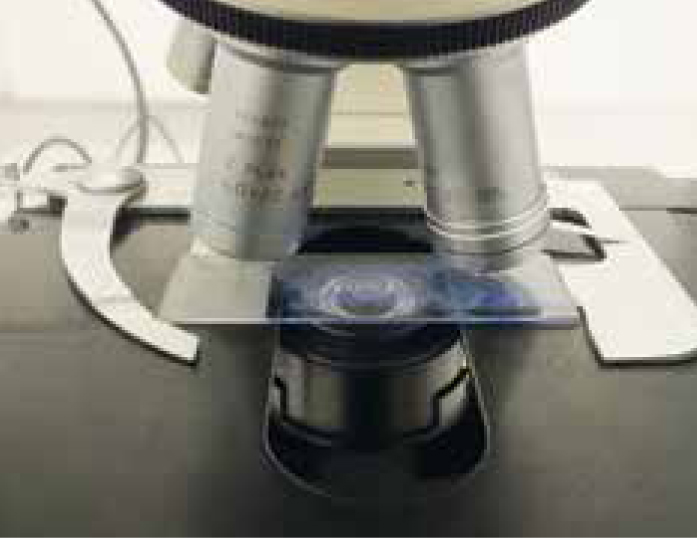
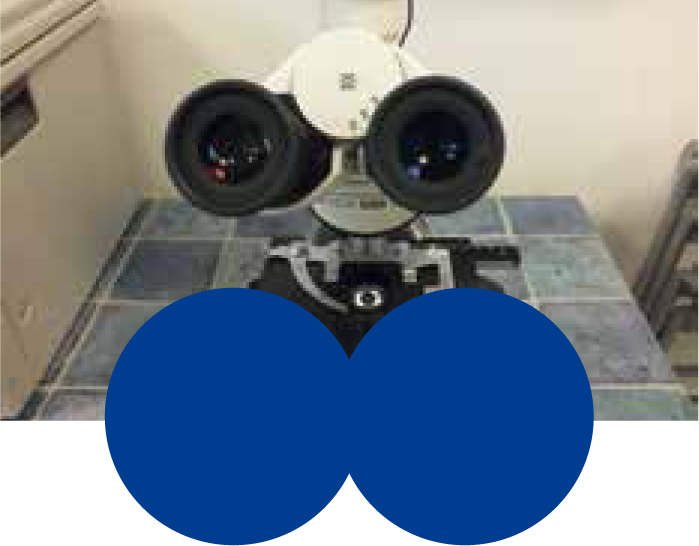
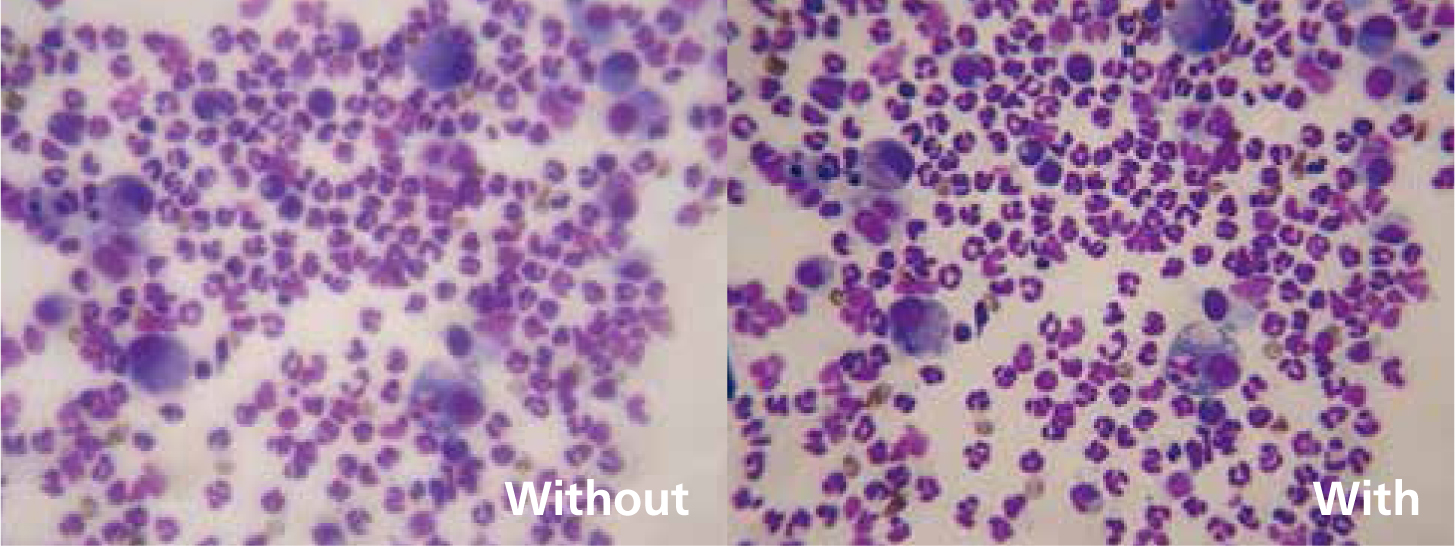
A basic knowledge of the microscope (Figures 1 and 2) and precise setup, including correct Koehler illumination, greatly improves image quality. Koehler illumination provides even illumination of the sample, it is important in microscopy and correct set up is required to obtain the best image (Figure 3).

Step-by-step guide to setting up the microscope

Top tip 1
When moving from x40 to x100 oil immersion do not rack the stage down to apply the immersion oil; this will require re-focusing and runs the risk of damaging the slide. Instead, swing the nose piece between the x40 and x100, apply a drop of immersion oil and swing the x100 lens into place. Only a small amount of adjustment with the fine focus knob will now be required (Figure 6).
Top tip 2
When using the x100 lens, if you cannot focus on the slide, try moving the x100 lens off and back onto the slide taking care not to swing the x40 lens into the oil. Occasionally the oil does not coat the x100 lens fully and moving the lens off and back on helps.
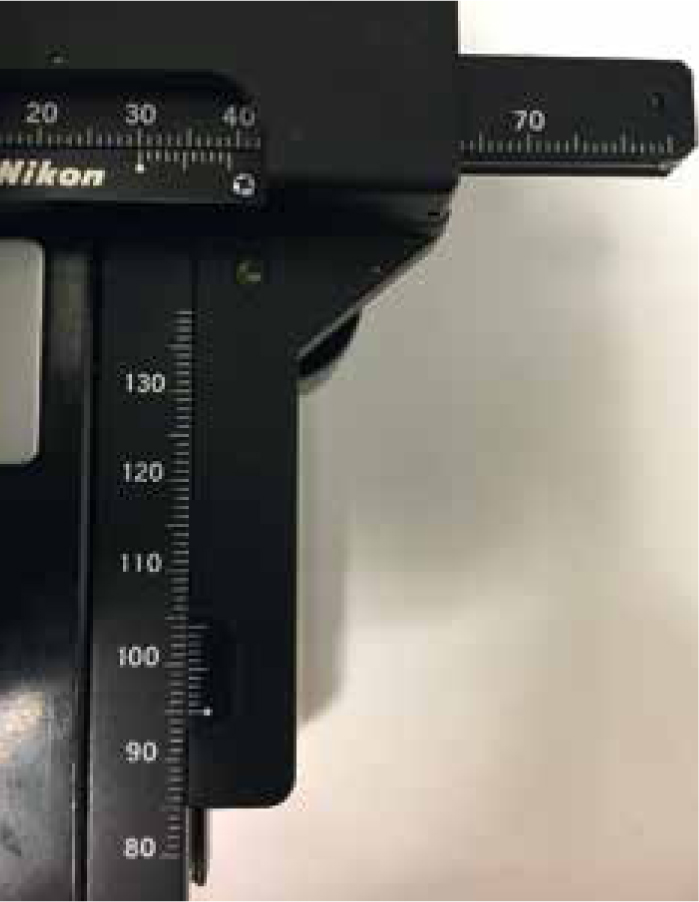
Vernier scale
The Vernier scale is used to document an area of interest in order for the user or a colleague to relocate at a later date. There are two scales on the stage of the microscope, one horizontal and one vertical and both consist of a main scale and a smaller Vernier scale.
The horizontal scale is always read first followed by the vertical, however it is important to remember that the slide must be placed in the same orientation (e.g. with the frosting to the right hand side) for relocation and the same microscope must be used.
To take a reading, first note where the ‘0’ on the Vernier scale meets the main scale. If it is positioned between numbers, the lower number should be used. Next, note where a mark on the smaller Vernier scale aligns directly with a mark on the main scale. This gives the decimal place figure (i.e 0.0 to 0.9). See Figure 9 for an example.
Trouble shooting
Having difficulty in seeing a clear image or focusing? Here are a few ideas on how to rectify the situation:
After each use
Cleaning and maintenance
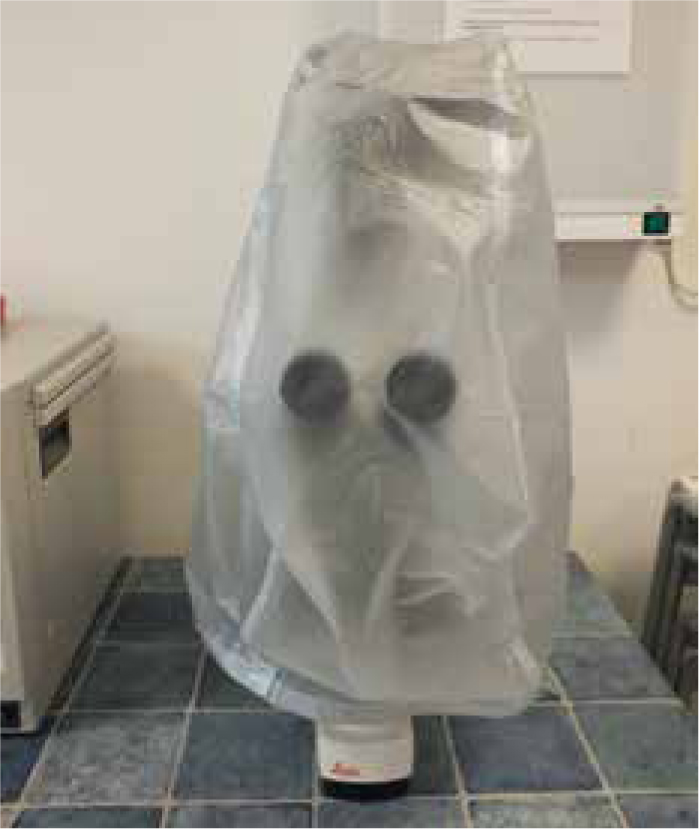
Daily — immersion oil and any visible dirt should be wiped off immediately. Immersion oil can cause irreparable damage if left to dry and a new lens can cost a few hundred pounds to replace. At the end of each day the lenses should be wiped with a lens cleaner and lint free tissue. The body of the microscope should be wiped with a disinfectant of choice, however any organic material should be removed first with a detergent of choice and the dust cover must be replaced.
Weekly — all lenses can be carefully unscrewed and, using a cotton bud dipped in microscope cleaner, can be cleaned using a circular motion. The eye lenses and condenser can be cleaned in a similar fashion. A compressed air duster can be useful to remove dust that has settled in difficult to reach areas.
Annually — the microscope should have a service every 6 to 12 months (depending on usage) by a professional to prolong the lifespan of the microscope.
Changing the bulb — if the microscope is equipped with a bulb remember microscope bulbs are expensive, so the microscope should be turned off when not in use with the rheostat always turned down. When changing the bulb, remember never to touch the bulb, always use lint free tissue to pick the bulb up, as the oils on your skin can make the bulb overheat and will reduce the bulb's lifespan. Some newer microscopes are now fitted with a LED light source that lasts much longer than traditional bulbs, meaning no bulb changing is necessary (Scarff, 2013).
Conclusion
A microscope is a valuable piece of equipment in the veterinary practice and if correctly cared for will last for many years before needing to be replaced. It is an excellent source of revenue for the practice and provides immediate results, enabling treatment to be started without delay. The veterinary nurse is perfectly placed within the practice to take, prepare and examine the samples, and with practice the veterinary nurse will become competent at these skills.