
Patient safety is an area of veterinary medicine that is rapidly increasing in awareness amongst anaesthetists, nurses and practitioners. Anaesthetic and surgical safety checklists are gaining in popularity in veterinary medicine after their successful implementation into human medicine. An important step prior to induction of anaesthesia is to test the anaesthetic machine, ensuring it is correctly set up, functioning normally and therefore safe to use. The anaesthetic machine itself should be pressure tested at least once daily, preferably prior to first use and the breathing system selected should be leak tested prior to each and every use.
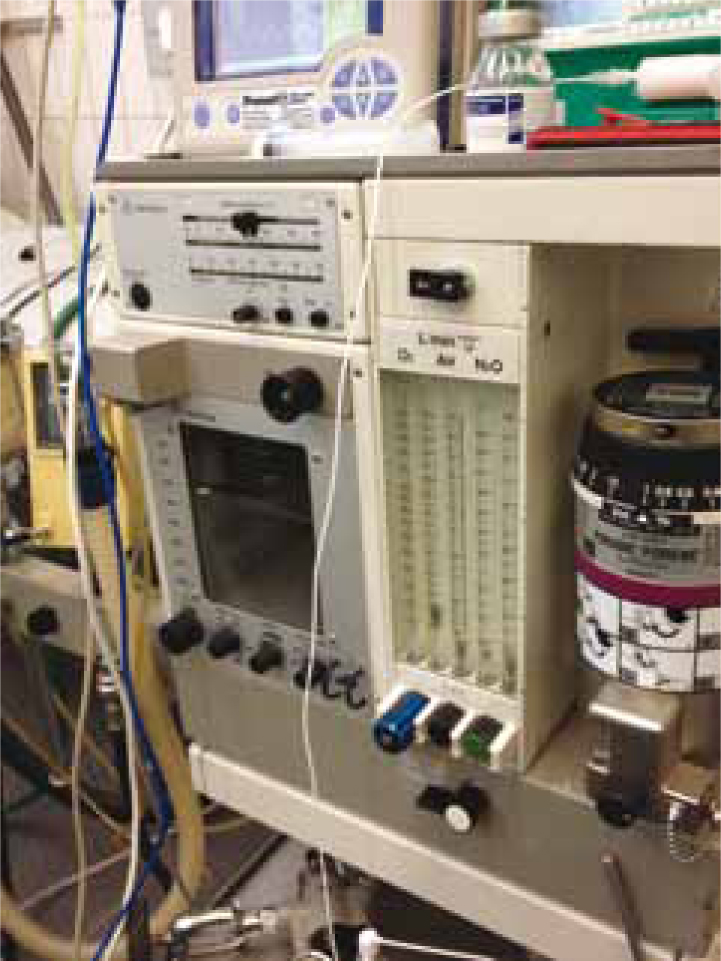
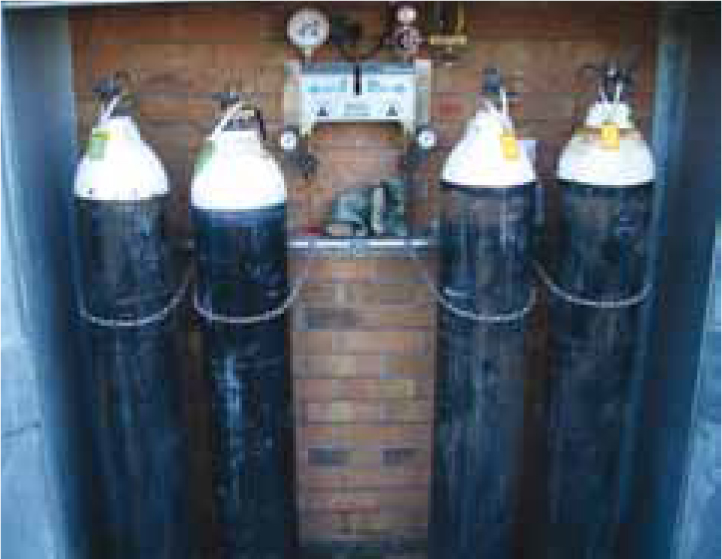
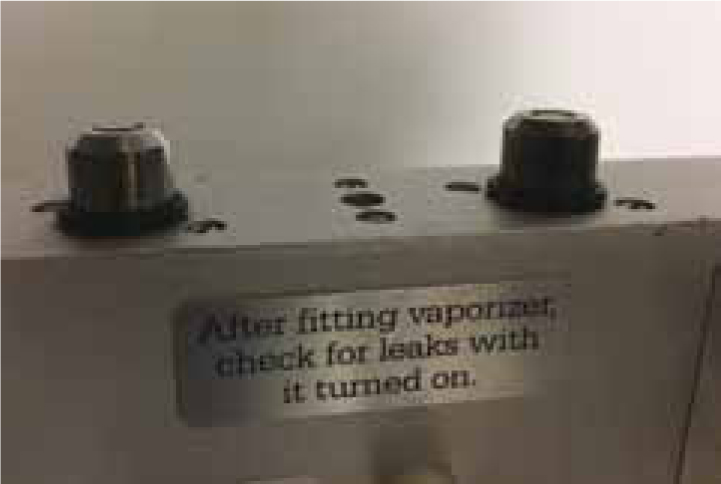
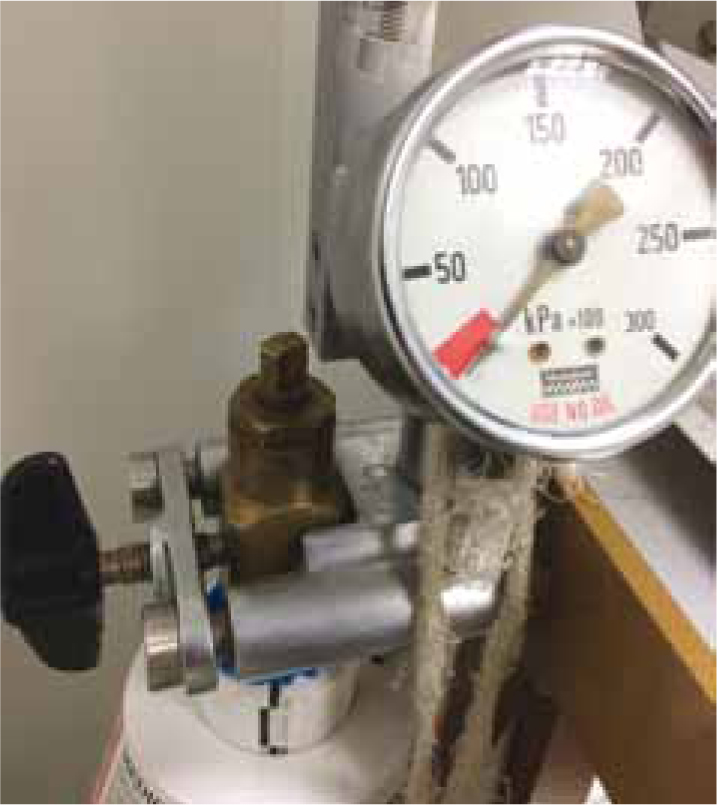
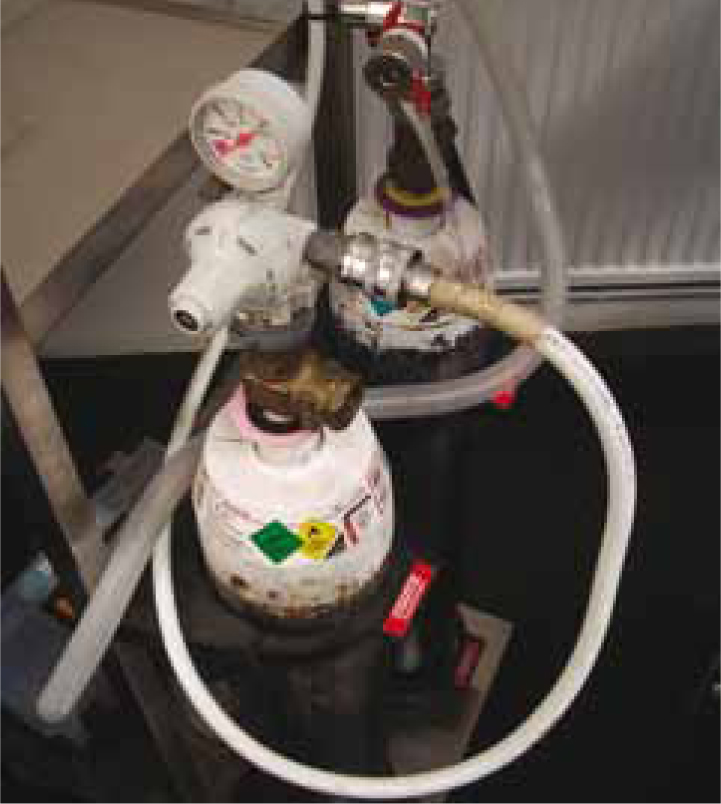
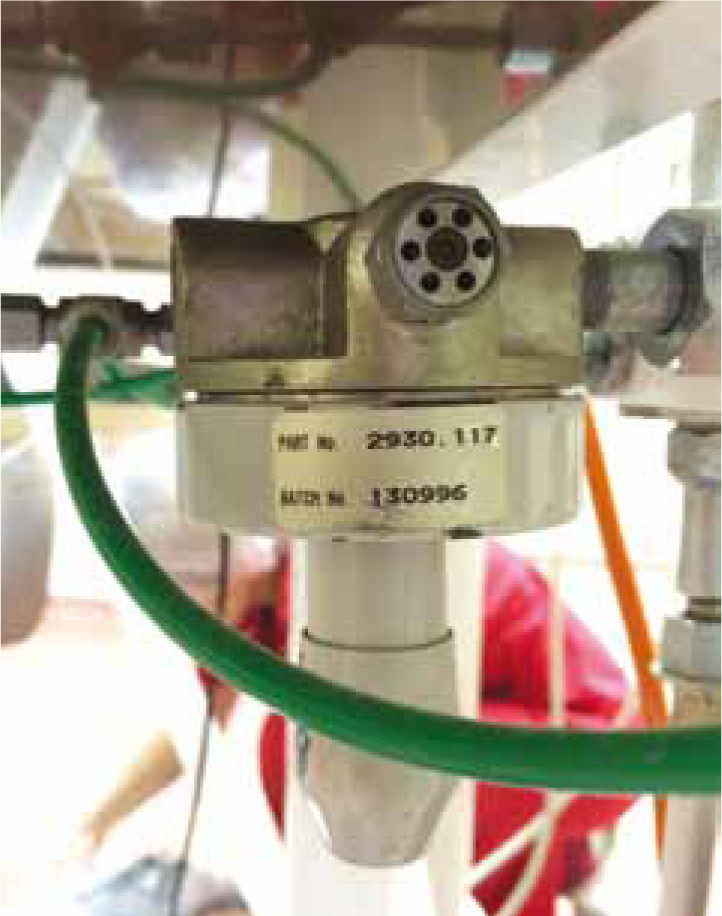
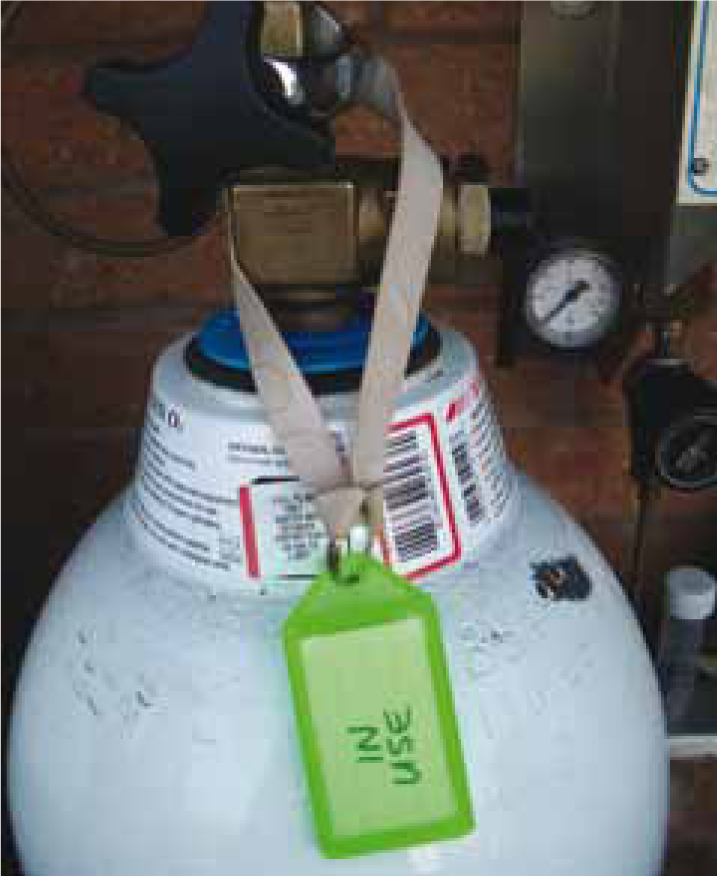
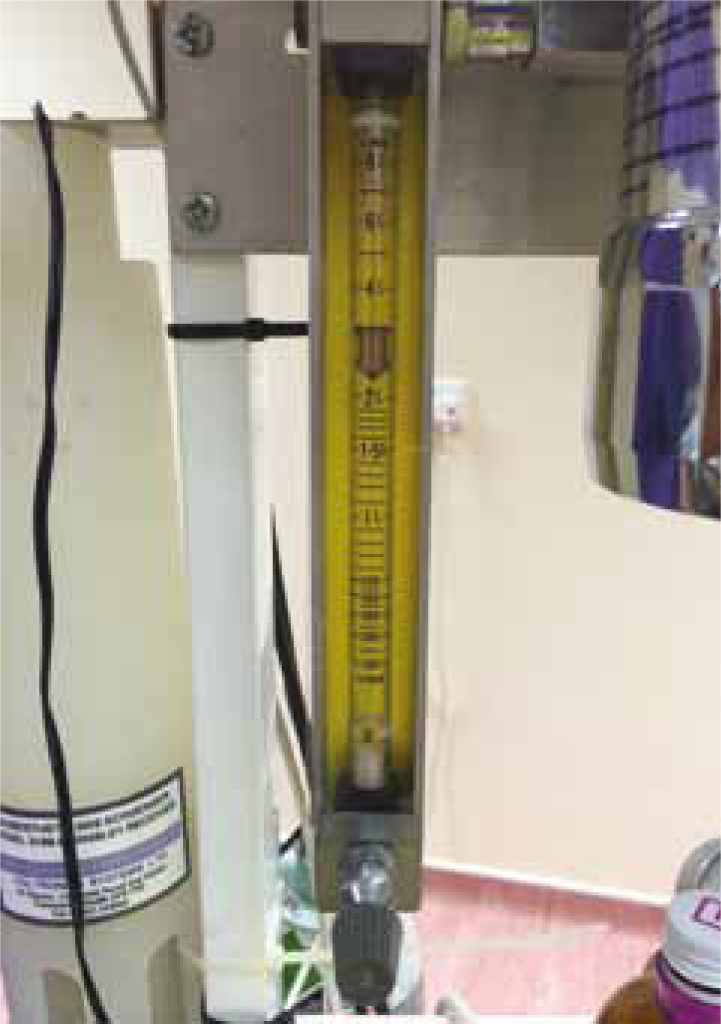
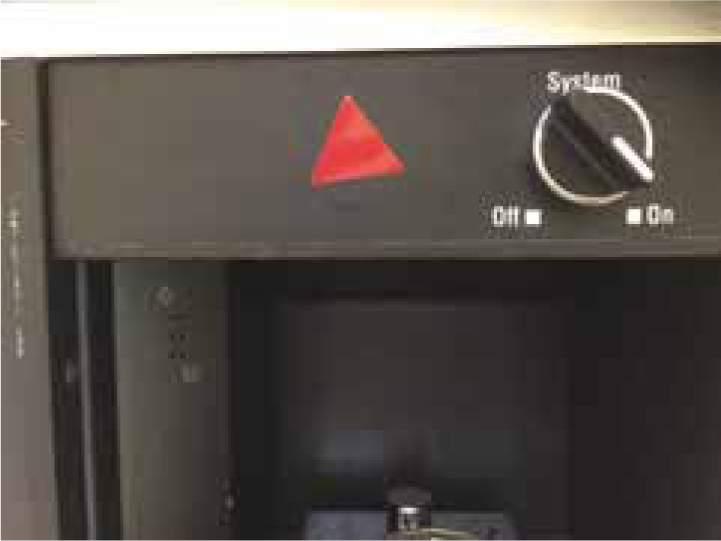
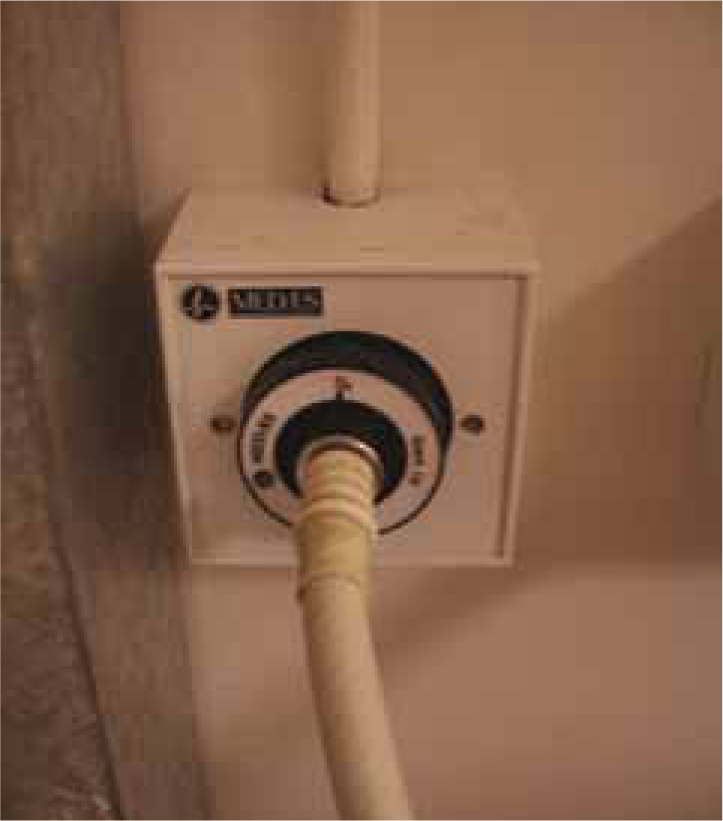
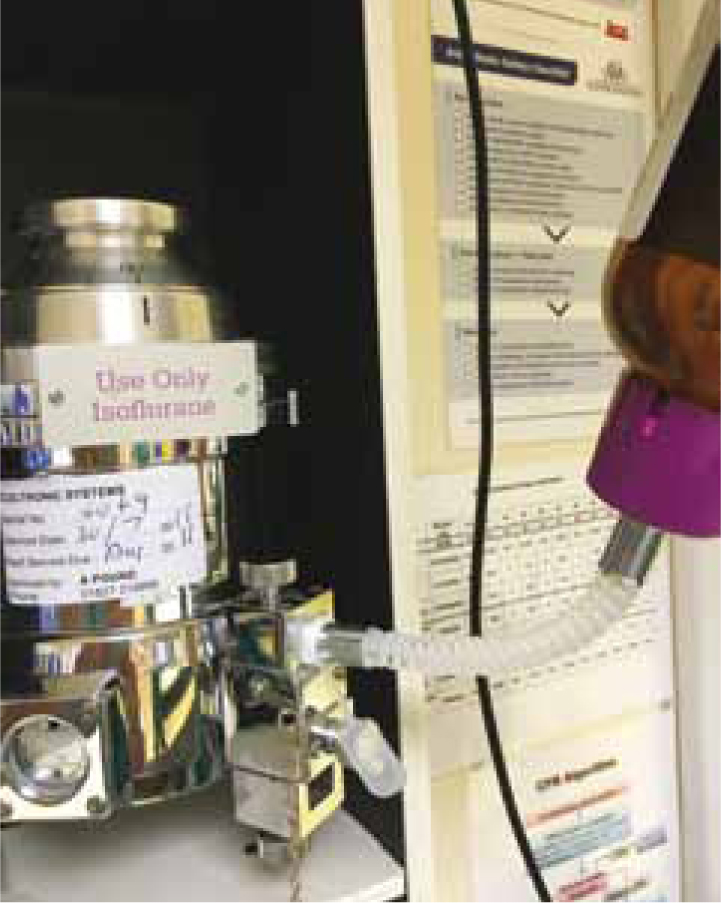
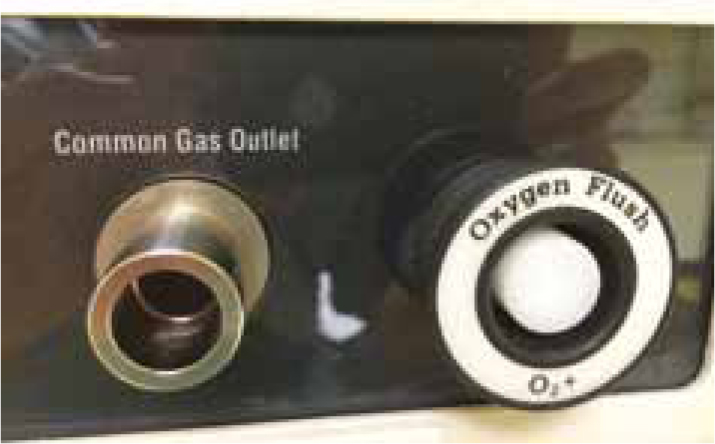
Anaesthetic machines used in veterinary medicine are found in a variety of designs and are often ex-hospital machines (Figure 1). It is important to be aware of any particular features when planning pre-use testing, as the machine set up may vary depending on the design. Anaesthetic machines may be supplied by one or more gas cylinders (e.g. oxygen, nitrous oxide, medical air) or pipelines (Figures 2a and b), and have vaporisers fixed within the machine or positioned on a selectatec bar (Figure 3a and b). It is important to be aware of where connections such as the common gas outlet (CGO) are positioned and which, if any, safety features are fitted to the machine being used. Safety features may consist of an oxygen low-pressure alarm, hypoxia alarm if nitrous oxide is used, and a gas on/off switch. Cylinder connections onto the machine will be dependent on the size of cylinder. Size E and J cylinders will have a yoke attachment (Figure 4), whereas size F cylinders will have a screw thread (bullnose) attachment (Figure 5) with the first stage regulator and pressure manometer attached.

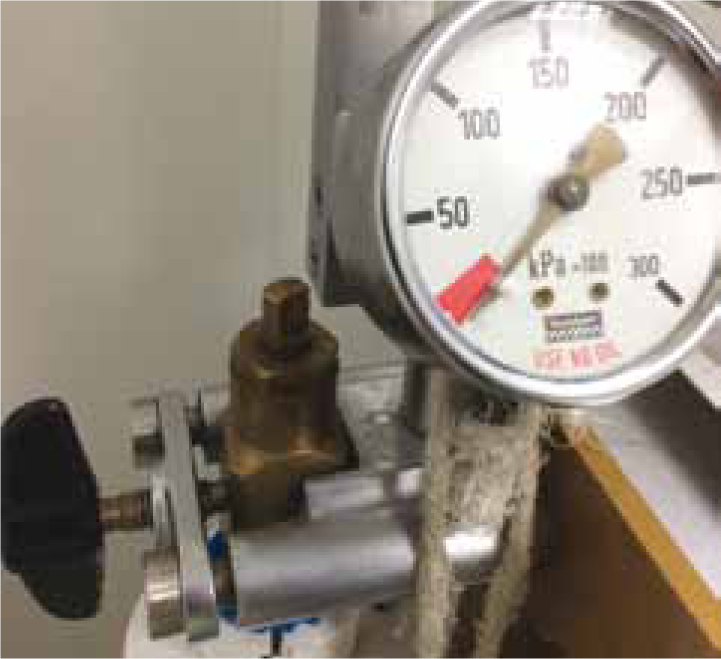
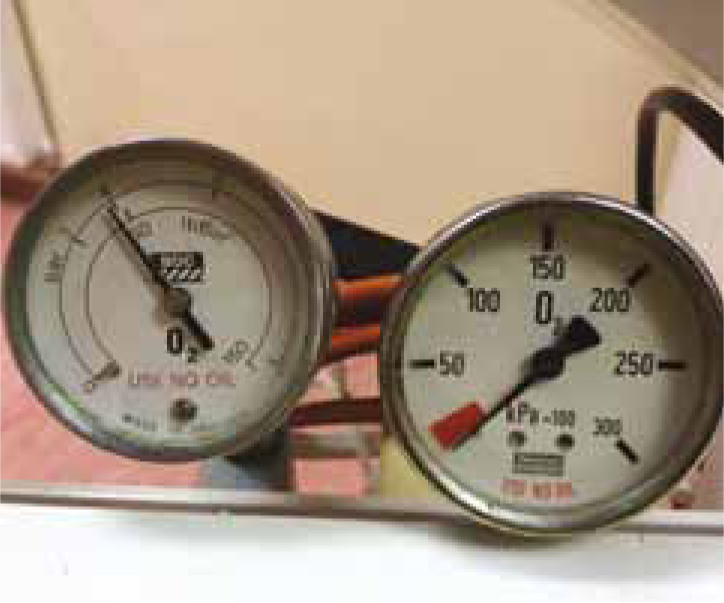
All anaesthetic machines have a high and a low-pressure section, both of which need to be checked for leaks. The high-pressure system consists of the cylinder or pipeline, cylinder yoke (if present), gas lines up to the first stage regulator, and ends at the second stage regulator (Figure 6). The reduction in pressure at the second stage allows for safe, consistent gas delivery to the flow meters. From the flow meters onward it is a low-pressure system.
When performing pressure and safety testing prior to anaesthesia a step-by-step approach should be utilised to ensure no section is omitted and therefore detect any faults present.
Initial machine checks
Intial machine checks should comprise:


Next move on to checking the high and low-pressure sections of the anaesthetic machine in more detail.
High pressure leak testing
The high-pressure system checks test the machine from the cylinders or pipeline connections to the second stage regulator.
Additional tests
The following additional tests should be performed if there is a pipeline supply in addition to a cylinder supply:

Vaporiser checks
Now move on to check for any faults associated with the vaporiser(s), e.g. leaks associated with the vaporiser and its connection to the machine:
To check the vaporiser(s):

Low-pressure leak testing
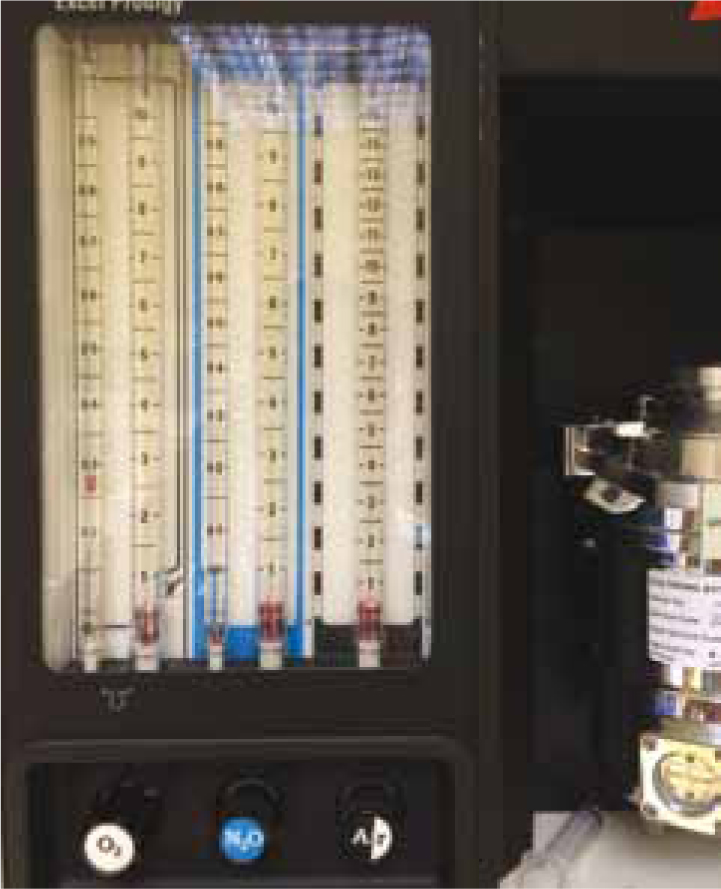
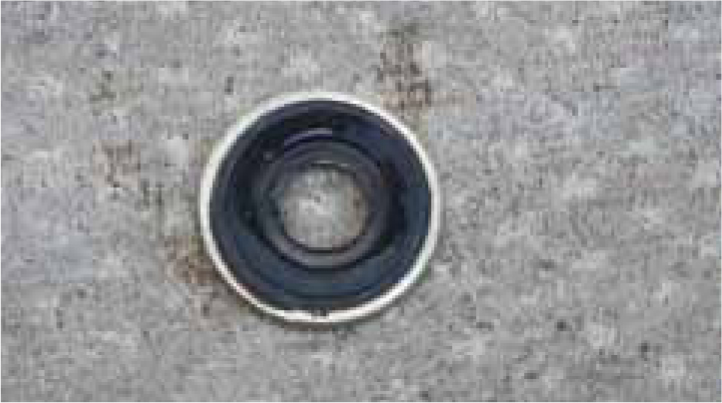
The low-pressure system checks test the anaesthesia machine from the flow meter(s) to the CGO (Figure 17). They check the section of the machine that is downstream from any fitted safety devices except an oxygen analyser (if one is fitted to the anaesthetic monitor). The components within this area are often the ones most likely to break or leak due to their fragile construction. The flow tubes with the rotameter set up are one of the most delicate components of the machine, and are susceptible to cracking or breaking. An anaesthesia machine may have up to 16 O-rings (rubber ‘seals’ used to ensure no leaks at connections) (Figure 18) in the low-pressure circuit. Leaks can occur at the interface between the glass flow tube and the manifold, and at the O-ring junction (Figure 3) between the vaporiser(s) and its manifold (selectatec system). Loose filler cap seals (Figure 19) on vaporisers are also a common source of leaks. Performing the appropriate low-pressure leak test before every case should be considered as part of a preanaesthestic safety check.

Completing the low-pressure safety check
This may be completed with a suction bulb (if available), which may be a more accurate way to test this section of the machine. If a bulb is not available please use the section following this instead.
If you do not have access to a self-inflating bulb then complete the low-pressure testing using the following method:
Conclusion
Incorporating pressure testing of the anaesthetic machine into your standard pre-anaesthetic preparation makes for good clinical practice. It ensures that any leaks or faults are detected prior to induction of anaesthesia and therefore any compromise to patient or staff safety. Differentiating between leaks within the high and low-pressure sections of anaesthetic machine helps in troubleshooting problems and in deciding whether an engineer is required to repair any faults. Producing a step-by-step guideline provides an aide memoire to ensure no important checks are missed and the safety checks become part of normal clinical practice.