Bandaging in small animals is a routine procedure. However, it should not be seen as an easy task, automatically done. It is very important to do it calmly, and with method and proficiency, to ensure successful healing without causing further trauma; only with practice can we become excellent professionals.
The current text describes the different bandaging techniques used to apply a foot bandage, the correct bandage choice and application.
Considerations prior to bandaging
There are some golden rules that every VN must take in account:
Bandage layers
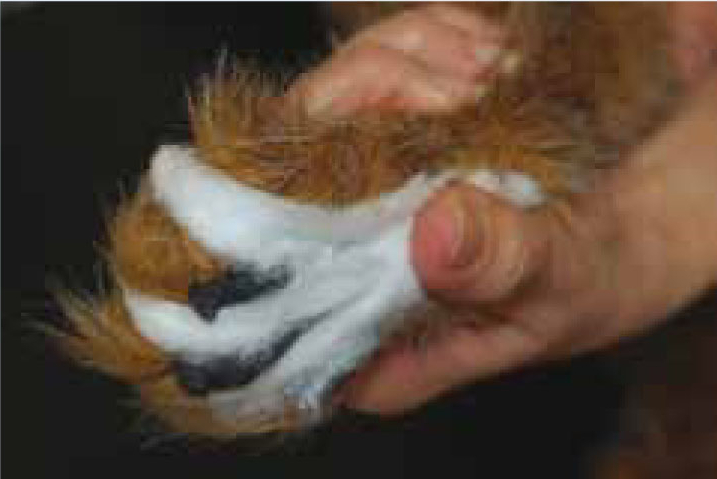
Bandages consist of four layers (Dallas and Wiggins, 1999; Orpet and Welsh, 2002): the first (the internal one) is a sterile wound dressing, also named the contact layer. The second is an intermediate padding layer; the third is a compressive layer and the fourth and last one, the protective layer.
Contact layer — this is in close contact with the wound, and must protect it. It must be sterile, prevent contamination from the environment and still allow drainage of wound fluids and debris.
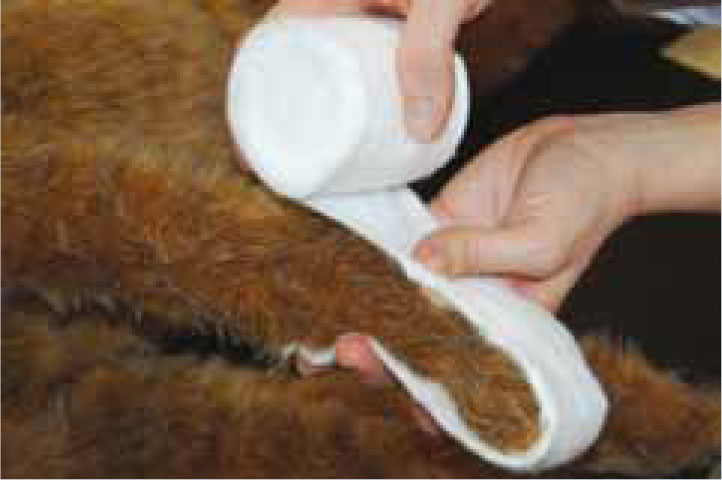
Intermediate padding layer — this has comfort as the main goal, but also support and protection. Cotton wool is its main component, contributing also to fluid absorption. It can also be used to promote limb immobilization.
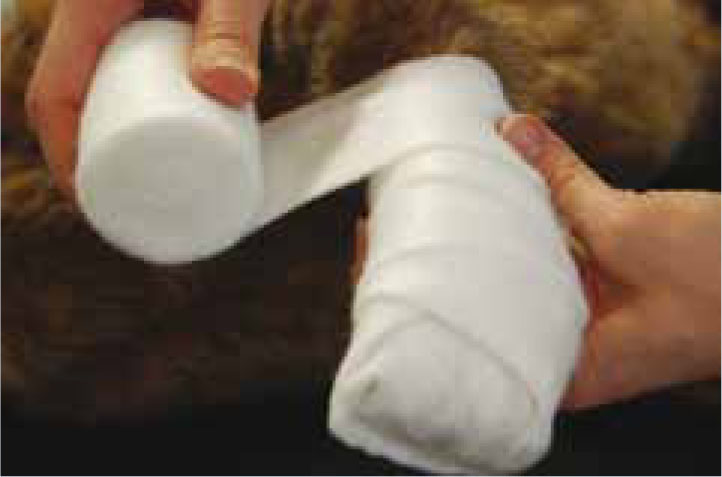
Compressive layer — this is also known as the conforming layer, it provides pressure to the lower layers, maintaining them in place. It also offers some protection. It generally comprises a cotton bandage, which is sometimes elasticated. Be careful to always protect the area to be bandaged with an extra padding layer when using an elasticated bandage.
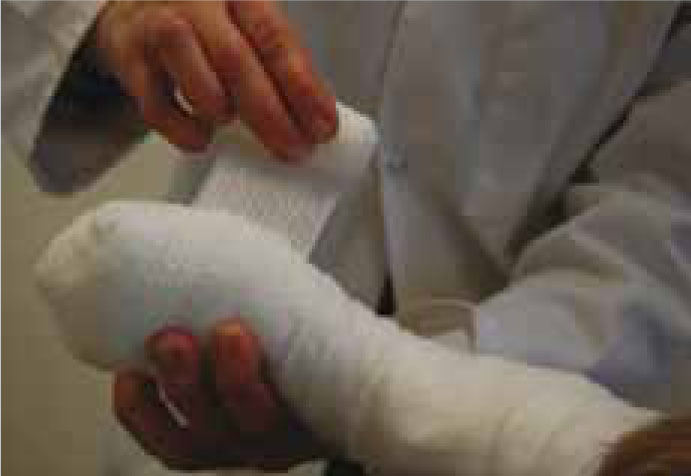
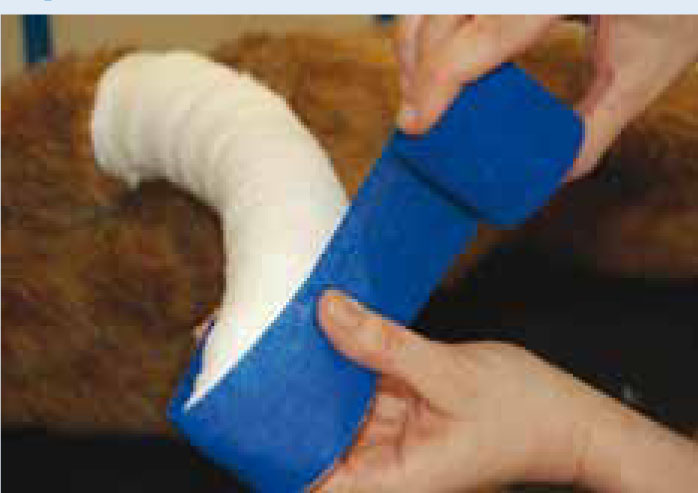
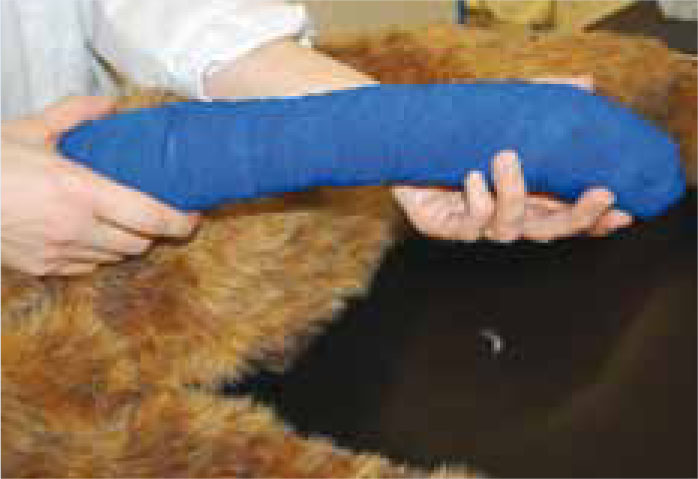
Protective layer — this is the most external layer. It provides protection to all other layers, preventing them from getting dirty. The most common material used for this layer, is a cohesive bandage. There are several cohesive bandages available, in several colours and also printed.
Foot bandage
Foot bandages are applied for a number of reasons, cut pads being one of the most frequent. Other reasons include as a first aid treatment for the control of foot haemorrhage, post-operative support following surgical procedures, or for protecting the foot from patient interference. Whatever the reason for bandaging, the main purpose is to protect the foot without interfering with circulatory flow while staying in place. When bandages are too tight, blood circulation is compromised and ischaemia can occur. If they are too loose, their functionality disappears, since they may slip from their original position.
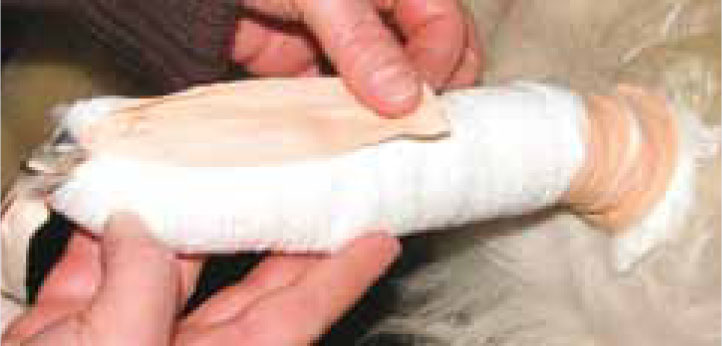
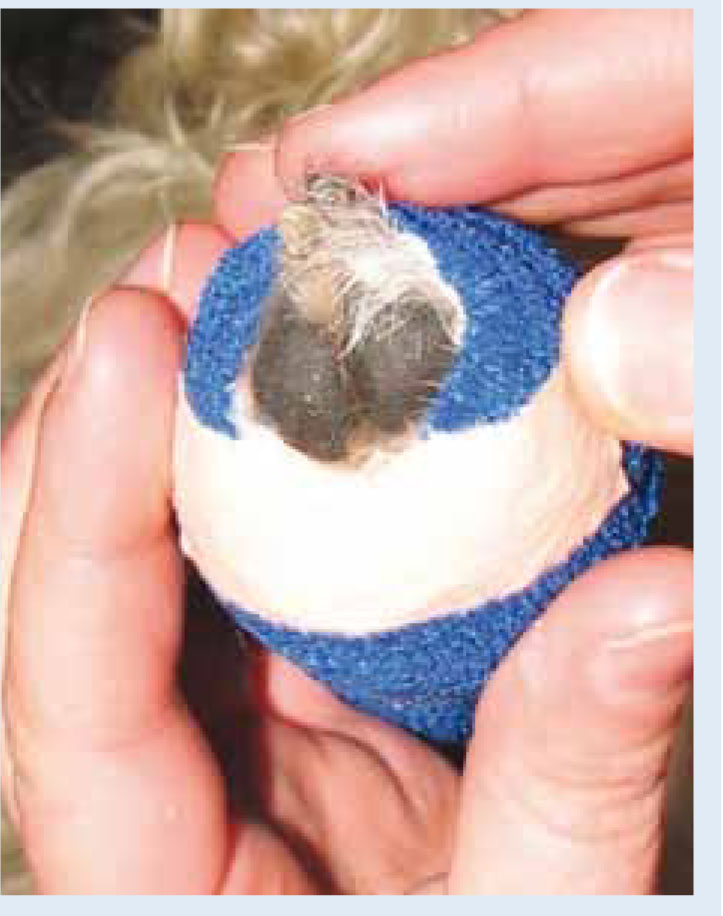
There are two options for a foot bandage: a closed one and an open one. The closed method refers to a bandage that completely covers the digits, while the open one leaves the middle digits visible. The closed bandage is the most common, but the open method is being increasingly used when there is a wound above the metatarsal joint. For application of these bandages see the Step-by-step guide.

Pressure bandages
Pressure bandages are other kind of bandages applied to the feet. They are very useful for controlling haemorrhage and swelling. Application technique is similar to that for the closed foot bandage described in the Step-by-step guide differing in the amount of cotton wool (3–4 layers) that is applied in the conforming layer. In haemorrhage situations veterinary practitioners have to ensure that bleeding will stop. If bleeding is observed through the bandage, apply further padding and a conforming bandage. To prevent circulatory impairment, a pressure bandage should not be left on for longer than is necessary. Generally it should be removed within a 12 hour period. When swelling is present and a pressure bandage is applied, there is a tendency for the bandage to loosen and fall down once the oedema has shifted. For this reason, pressure bandages should be carefully observed and reapplied whenever necessary (Dallas and Wiggins, 1999; Bryant and Phillips, 2007; Conner and McKerrell, 2010).
Bandage follow up
Monitoring the bandage is crucial for a good outcome. After applying the foot bandage, the animal must be allowed to walk, and the bandage should be checked for slip and comfort. A few hours after application, bandages should be checked again, to ensure that the foot/digits are not swollen
Bandages should be changed whenever necessary (Bryant and Phillips, 2007). Bandage replacement should follow wound dressing recommendations or if any of the following occurs — looseness, displacement, fluid accumulation and bad odours. If a wound is present, bandages must be changed at least once a day, to monitor the healing process.
Client information
Client education is fundamental for home monitoring. Owners should be made aware of possible complications of bandages. They should be advised to keep the bandage clean and dry and that when going for a walk on rainy days or in grassy areas, the foot bandage should be protected with a plastic bag or similar. This plastic protection should be maintained only for short periods, otherwise skin complications, such as dermatitis and wound maceration, can arise, from moisture build-up and lack of oxygen. Owners should also be advised to check the bandage daily for fluids or odours; they should also determine whether the bandage has moved from its original position. When middle digits are exposed, they should be monitored since they could be oedematous if the bandage is too tight. Animal behaviour should also be monitored. After bandage application, animal behaviour is expected to be normal. Any deviation, such as chewing of the bandage, excessive stress and efforts to remove bandage, can be interpreted as signs of discomfort and bandage application should be reassessed (Dallas and Wiggins, 1999; Bryant and Phillips, 2007; Conner and McKerrell, 2010).
Conclusion
Bandaging is a technique that is both beneficial to the animal and reassuring for the veterinary nurse and owner, and several effective techniques are available to suit many kinds of injuries. The veterinary literature is coherent and authors generally advise that owners should receive instructions on home care and inspection of bandages. Fluids or odours should be reported to the veterinary professinal; chewing of bandages or abnormal behaviour should be interpreted as a potential for bandage misplacement or cause of aggravation injury and further professional help should be obtained. When middle digits are exposed, they should be monitored since they could be oedematous if the bandage is too tight. Moreover, in order to better monitor the animal's health status, several authors recommend the delivery of written instructions on bandage complications when the animal is discharged (Anderson and White, 2000; Bryant and Phillips, 2007). This would ensure a swift action towards the control of any pathological deviation caused by bandage complications (including ischaemic bandage injury). Minor complications, such as redness, oedema and abrasions, are common after placement of a bandage, but should and can be avoided with good skill in bandage placement and comprehensive monitoring of the patient's bandage and comfort levels. Severe complications like ischaemia, open wounds and necrosis, are the result of bad techniques, bad monitoring and bad client education.